
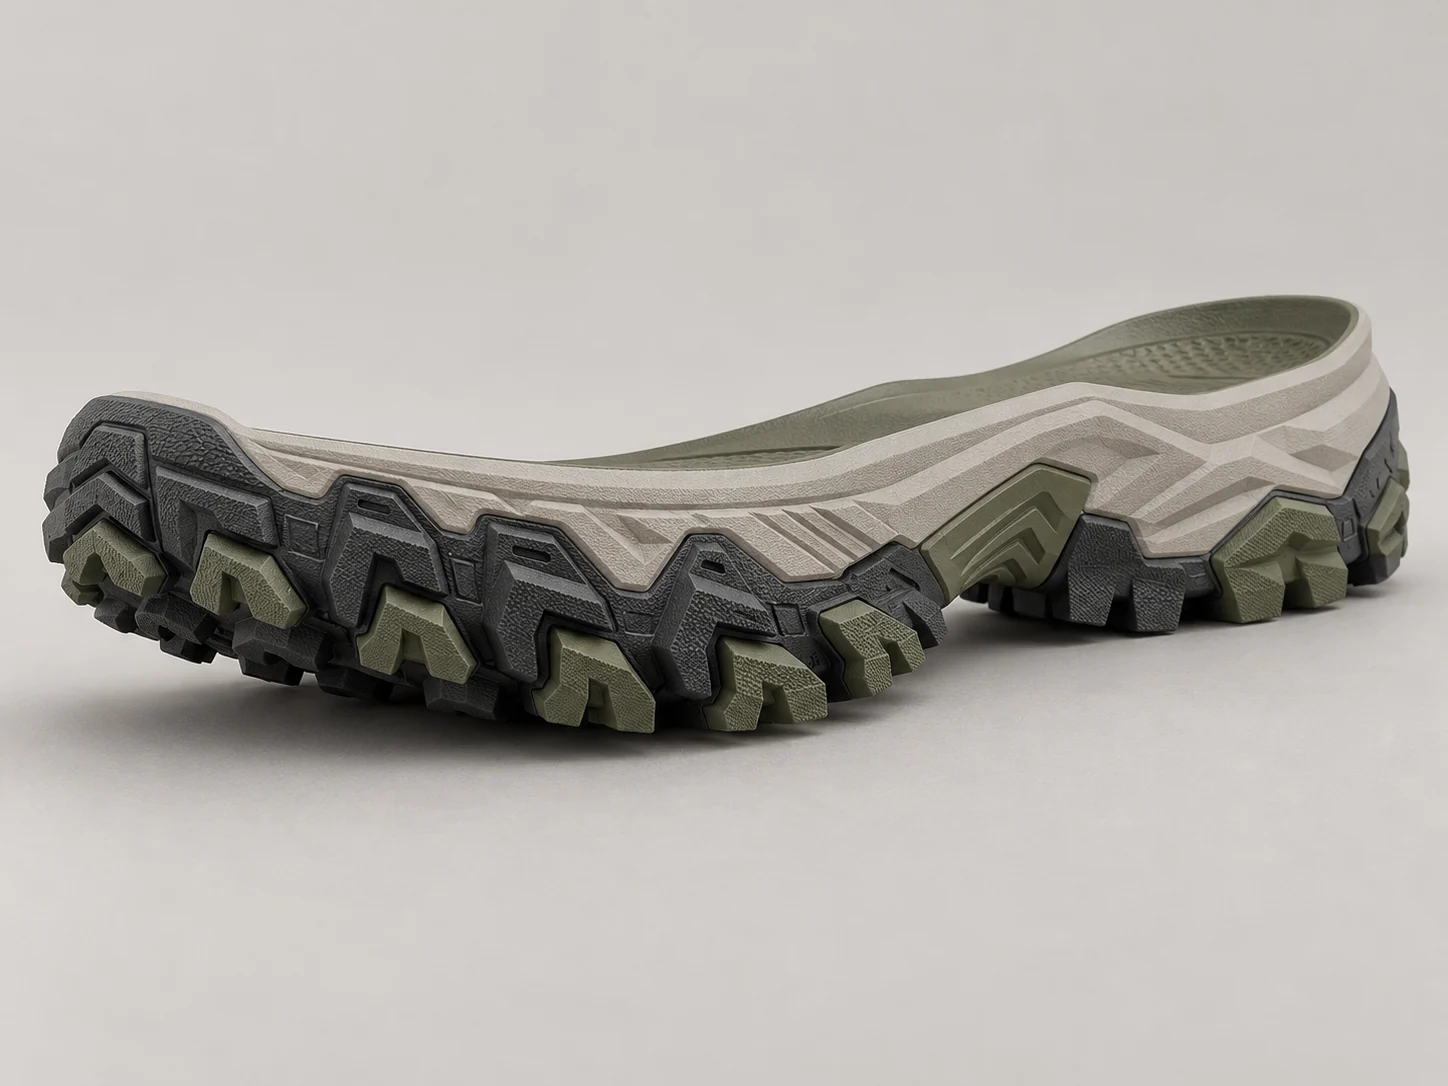
Replace “all terrain” with a use profile
A trail brief becomes more useful when it names the primary terrain and the compromises the buyer can accept. Salomon describes its Contagrip outsoles as combinations of rubber compound and lug profile selected for different terrain families. That is a brand-specific example of application-led design, not a specification for another supplier’s product. It helps frame the right question: which ground conditions should this particular construction be developed and evaluated for?
Describe the expected balance of compact paths, loose ground, mud, rock and paved approaches. Include wet or dry conditions, typical outing duration and whether the footwear is intended for running or hiking. If several environments matter, rank them. A primary use case allows the team to explain compromises instead of promising maximum performance everywhere.
Review compound and geometry together
Ask for outsole drawings that show lug layout, relevant dimensions, rubber coverage and attachment to the midsole. Discuss the material specification alongside those drawings. Do not select a compound based only on its color or a tread based only on the depth visible in a photograph.
Clarify which dimensions are proposed design values and which have been confirmed on physical samples. Request a review of manufacturing feasibility, including small features and the intended finish. Where the construction uses several materials, identify each interface that needs assembly and durability evaluation. Record these questions before the appearance is frozen.
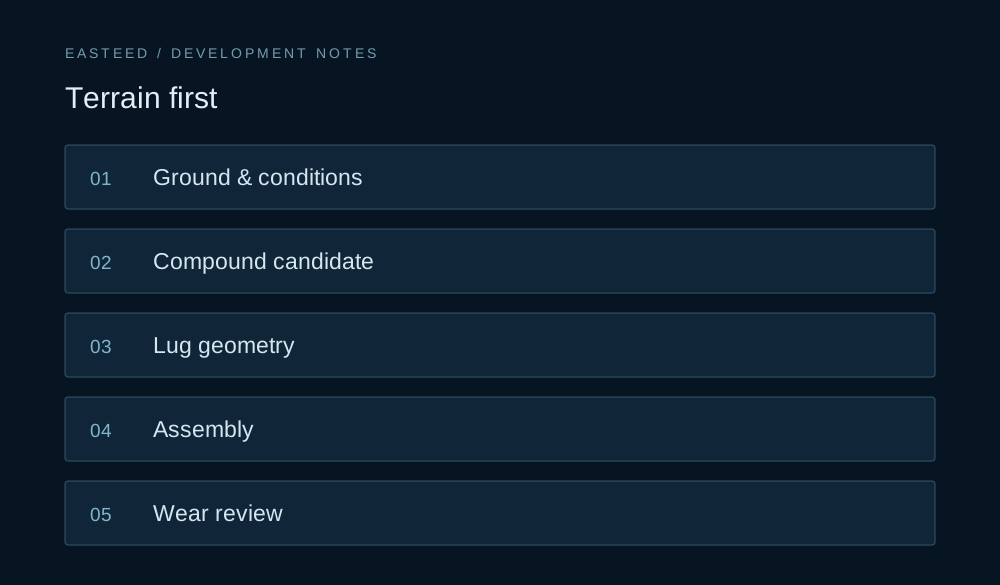
Prepare a terrain matrix for the first sample round
Create a short matrix with one row for each relevant ground condition. Record its importance, expected wet or dry exposure, and the observation or measurement that would inform the next decision. Include paved approaches if they are a meaningful part of the intended use. A matrix makes a mixed-use brief discussable without resorting to an undefined “all-terrain” promise.
Alongside the terrain rows, identify the features that may change during development: compound candidate, rubber coverage, lug arrangement, dimensions or the underlying sole geometry. Ask the supplier to state which changes can be sampled together and which require a separate tooling or assembly review. Track each proposal by drawing revision rather than by a nickname such as “the aggressive outsole”.
The initial deliverable is not a traction ranking. It is an agreed selection of candidates, a description of the conditions they are intended to address and a plan to investigate the tradeoffs. If the physical samples expose a different priority, update the terrain matrix before commissioning the next version. This keeps the sampling sequence connected to the product rather than the appearance of a single reference.
Separate traction, protection and comfort
An outsole can be visually rugged while leaving important questions unanswered. Treat traction, underfoot protection and comfort as separate review topics for the complete construction. A favourable observation in one area does not settle the others. Ask the development team to explain what evidence is needed for each objective and which parts of the assembly are included in that assessment.
For hiking use, clarify the expected load and trip duration as inputs to the product brief. For trail running, explain the intended pace and terrain rather than simply asking to reduce weight. Let the complete-shoe team decide the evaluation protocol, then document the sample version and conditions used. Avoid transferring a laboratory result to every activity listed on the website.
Plan a controlled wear review
Build a wear-review sheet with sample IDs, tester feedback, route conditions and inspection photographs. Ask testers to describe where confidence or discomfort changed, rather than provide only an overall score. Inspect the same areas after each agreed interval so that observations remain comparable.
Combine that feedback with appropriate laboratory checks agreed with your testing partner. Set acceptance criteria before reviewing results and retain the approved reference construction. When a material or geometry changes, assess whether earlier evidence still applies; do not automatically carry a previous approval to a different sole.
For the first supplier conversation, send the terrain profile, size range, upper concept and reference images with annotations. State whether the reference is about lugs, sidewall appearance or overall proportion. A precise terrain brief helps the team select sensible candidates and makes later tradeoffs between traction, wear, mass and appearance easier to explain.
Sources & further reading
This article combines the cited technical context with Easteed editorial recommendations for project planning. It does not claim that Easteed uses the cited branded materials, holds a certification or has tested the illustrated reference.
Bring a reference.
Define the next decision.
Share the application, available drawings and the question your next sample needs to answer.
Build a project brief ↗